23 December 2010

Bird in Flight Tattoo...

I dont think i need to explain here...but im contemplating my next tattoooo...LOVE these pics :)


19 December 2010

Giveaway Winner!

A quick post to announce the winner of my first giveaway!

Firstly thanks to everyone who entered!! Your entries are muchly appreciated!

So onto the winner...Congratulations to Olivia fro Olivia Writes!

I have contacted you via email so will wait to hear from you!

Hopefully i will be holding another giveaway soom so keep your eyes peeled!

Lil xx

12 December 2010

Hot Water Bottle Cover Tutorial

Remember that kilt i bought in a charity shop a few months back for £1? There i was, sat thinking about what to make next...and so here it is...padded quilt hot water bottle cover :)

You will need:

Outer Fabric (Kilt)
Padding/wadding - very cheap from john lewis or fabric shops!
Inner/Lining Fabric (Strawberry)
Thread (try and make this the same colour as your outer fabric!
Bias Binding - not much, about 50cm!
Greaseproof/tracing paper.
Sewing machine optional, but a lot faster with one!!
Lets Get Started!!...
First, draw around your hot water bottle, leaving a 2cm gap round the edge all the way round.
Do this onto greaseproof/tracing paper as it is easy to work with.

Pin this to your fabric and cut out one whole one, a small half for the top and a larger bottom half, so that when placed on top of the whole one, they overlap.


Next place your cut out sides onto the wadding and cut out - leaving a gap of about an inch all the way round. Do this for all three pieces.

Next do the same with the lining/inner fabric. In the end you should have a sandwich seen below.


Pin this sandwich together and then carefully sew together.


Bias bind together the two straight edges from the broken half.


Lay the whole piece, right side up, and place the smaller piece on top right side down. then the larger broken piece also right side down. So that when all turned inside out, the outer fabric only is showing.

Sew round all edges carefully, The machine will go through this as its all thin fabric!
Turn inside out and voila!!


I know mines not perfect, but its my first attempt and i love it!...
Another christmas present in the bag!!
Lil x

11 December 2010

Pretty Bunting Tutorial

This is a really easy tutorial for making pretty bunting. It can be used to decorate rooms, stalls and even cars (yes im thinking car window bunting!)

What you will need...

Fabric..This can be all the same colour, or different patterns as i have gone for.
Scissors..for cutting out your triangles.
A cardboard triangle template...Mine is 14cm at top, and 16 on either side.


Some Bias Binding (170cm) in the colour of your choice (really cheap from fabric shops)


Cotton in a matching or contrasting colour to your bunting.


...Sewing machine is optional but very quick if you have one!

Lets get started!...


Firstly you will need to choose your fabrics, I chose ten as this makes a nice length of bunting.


Place your triangle on the fabric and cut out, leaving a cm either side of the cardboard. You can save fabric by turning the triangle upside down each time you cut.

You will need two fabric triangles per bunting triangle (does that make sense?) for front and back!


You should end up with something that looks like this...


Next, place correct sides together and sew down each side - not the top!!

(Quick tip for sewing machine users..Sew down one side, At the bottom of the triangle keep the needle in and turn the fabric - saves time and having to sew each side separately!)


Trim the excess and turn inside out. Press with an iron to keep flat.

Repeat this for all sets of triangles!


Next you will need to work out which order you want your triangles and fold the bias binding over each of the triangle tops. It makes it way easier to do this all in advance and pin in place, like below :)


Sew all triangles onto the bias, making sure it is always folded correctly, and the triangle is sandwiched inbetween! I just do one continuous sewing strip, and sew together the empty bias inbetween each triangle. This will save you a lot of time over sewing each one in individually!


And here is the finished bunting!


Let me know if you make this yourself as i would love to see pictures!!

Lil x

5 December 2010

Cushions Cushions Everywhere!

Today i made some xmas presents...cushions

This pretty burgundy one , in the same style as previous ones. So easy to make and so pretty :)


This one i made for myself, out of strips of some of my fabric! I love it. I have filled it with toy stuffing, so its sooooo comfy and soft :) I love the velvet strips and the colour graduation...

Im thinking a ruffled one like this would be pretty!


And lastly a few pics of some inspirational cushions...Im loving the large red rose one!


Dont forget to enter my Giveaway to win an Elf Palette, Handmade Make Up Bag and someother goodies!

Lil xx

28 November 2010

My Week in Pictures...

...Or should i say my 'recent' weeks in pictures!
I've been quite busy these past few weeks, hence not many posts! But i have returned once again with some pictures of recent antics, and some stories to tell :)
Firstly, to follow on from my last post about my new found love of cushion making, I made this Cushion for my friends birthday...i was meant to give her the blue one i made in the last post..but i figured it wouldnt go in her flat, so i made this cute white one :)
I added little burgandy roses that i found in fabric land. I love it, it was cheap cheap cheap to make, and so easy :)


Last week i moved house.. I now live in a house share, so only really have my room to myself. Which i quite like :)
I spent last weekend unpacking my bags and hanging all my homely bits. I have gathered many hanging hearts from lots of different places, and i love them all, i hung every single one!
I also made some bunting last weekend, (in the first pic below) it super cheap to make, in fact it cost me nothing! I will make a tutorial on this next weekend...


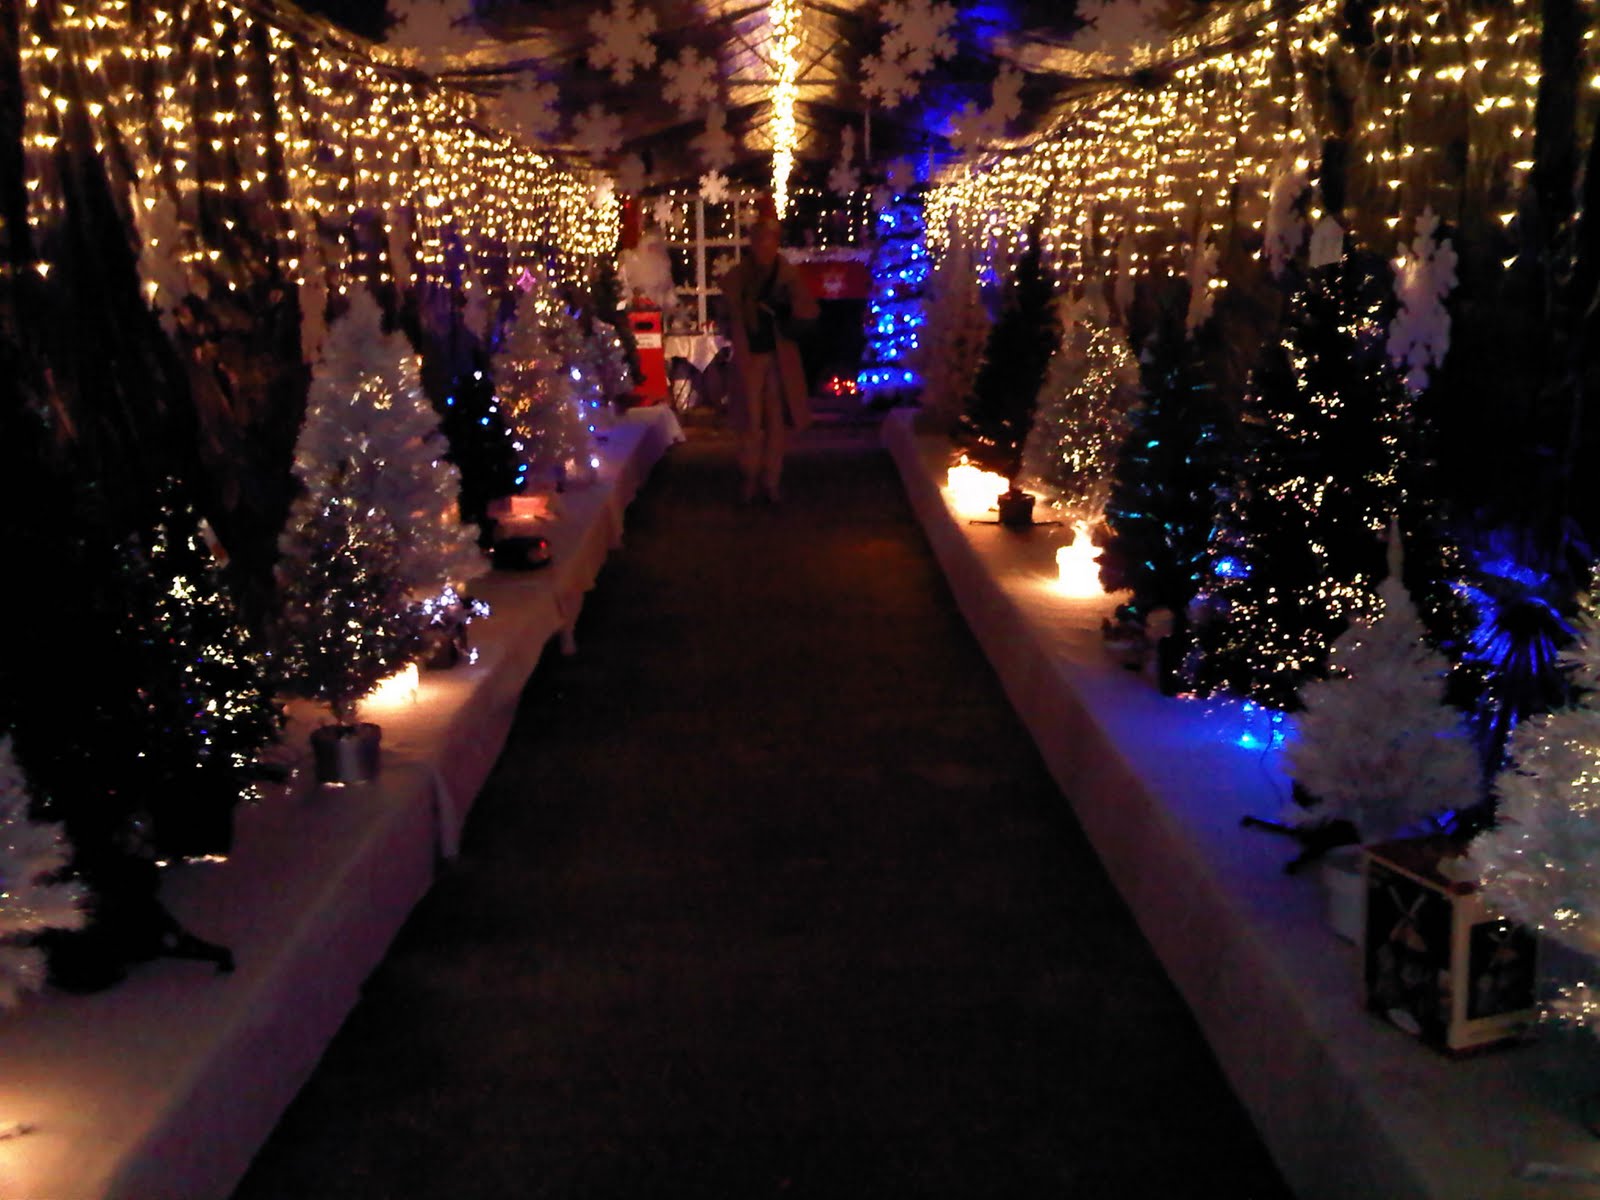
I have also been on a few christmassy trips after work these past few weeks...its so nice to get out and about, despite the cold weather.

The pics below are of two trips i went on...One to Keydell garden centre where there was every decoration and light you ould possibly imagine! Every colour of tinsel! And..some cute donkeys!

I also went to Stansted house for a chrismas market..which was held inside the big mansion. It was so pretty and christmassy! And there was some horses dressed as reindeer pulling santa along!

So charming :)


Last but not least...i went to a fancy dress party..here i am in my maid costume...in the toilet :)

Have you guys been to any christmas fairs or markets yet?

Please remember to enter my giveaway below!!

I will be taking part in a christmas handmade fair in a couple of weeks, so expect some crafty pictures and tutorials in the coming week :)

Lil xx

LilyRibbons Giveaway :)

Today i am holding my first ever giveaway...because i was going to hold one at 70 followers...but i can do it early because its my blog :)

Up for winning is a 32 piece Elf Eyeshadow Palette, A pretty make up bag...made by yourse truly! and a few cheeky suprises too :)


To be in with a chance of winning, the rules are as follows...
1) You must be a follower :)
2) You must leave a comment in this post, with the words 'Enter me because i'm fabulous'...
3) You must also leave your blog and email address so i can contact you if you win...
4) Lastly you must post about this giveaway in your blog or sidebar :)


I love Elf products, and so decided to give away something that would love to recieve myself :)

Good luck....

The giveaway will close Sunday 19th December, and winner announced the same day!

You should then recieve your little gift by xmas day! :)

Lil xx